


Hello Dev's👋🏻, this blog will contain a step-by-step guide to set a CI/CD pipeline for our android app release.
What is CI/CD? 🤓
CI stands for Continuous Integration and CD for Continuous Deployment. A pipeline in software engineering means having a channel which automates the process of software releases, to help deliver newer versions of software efficiently. Adding to it, it helps improve the quality of code, makes the development process faster and of course automation.
The freedom we attain with CI/CD pipelines 🧐
We can make scripts in such a way that on every action like a push on Github or when a new PR is raised, it automatically triggers to run the scripts. Also, we can manually start the script with a single click.
Things to include in scripts for Android Project
lint checks
static code analyzer
unit test on the project
generate reports
Compile the code to ensure the proper working of the code.
Generate Artifacts (
.AAR,.APKfiles)Publish the Artifacts to their respective marketplace, like mavenCentral for library builds or Play Store for APK builds.
Send notifications to Slack
etc
Let's create a basic pipeline
Here I will be creating a basic pipeline which generates the APK and will understand it steps by step.
Go to the root of the project (android project) and create a new directory named: .github/pipeline.yml
name: task - validate commit on master
on:
  push:
    branches: [ master ]

jobs:
  running-job:
    runs-on: ubuntu-latest
    permissions:
      contents: read
      packages: write

    steps:
      - name: Setup actions.
        uses: actions/checkout@v2

      - name: set up JDK 11
        uses: actions/setup-java@v2
        with:
          java-version: '11'
          distribution: 'temurin'
          cache: gradle

      - name: Generate AAR and APK files
        if: always()
        run: ./gradlew assembleDebug

      - name: Upload AAR files
        if: always()
        uses: actions/upload-artifact@v2
        with:
          name: artifacts.zip
          path: |
            app/build/outputs/apk/debug/app-debug.apk
            dog_network/build/outputs/aar
Push the code and check the actions tab and you will find the pipeline running automatically.
So, let's understand how this worked:
name:
is given saying the task is to validate the commit on the branch master
do:
when to run the script? when the push happens on master.
jobs:
runs-on specifies on which platform it should be running, (here- ubuntu-latest) and permission is to read the content and write the steps of the package:
specifies all the steps which will happen when the script will run.
step-1: sets up the action
step-2: sets up the jdk for the android project (version, distribution and cache are mentioned)
step-3: Generate AAR and APK files, and the gradle script for the same is mentioned as
./gradlew assembleDebug(specifies to run this command when this step happens)step-4: upload the AAR files in the form of a compressed zip file and also the path where it will be stored is mentioned
Adding lint check and unit test automations
On the script created above we can add 2 more new steps just before the APK generation steps like this:
...

 - name: Check lint
        if: always()
        run: ./gradlew lint

 - name: Run Unit Tests
        if: always()
        run: ./gradlew testDebugUnitTest
...
The above two steps automate the lint and unit test check.
Do we need these checks?
Lint checks are useful because they help to see warnings that are raised by the android studio during the building. These could become errors in future based on the severity.
Unit Tests on a code are very important checks to ensure that newly added code does not break the previous logic.
Strategy to automate the Android release on Google Playstore
Before getting started, we need to discuss the flow of how the pipeline needs to work.
We will be using this open-source software to attain this automation:
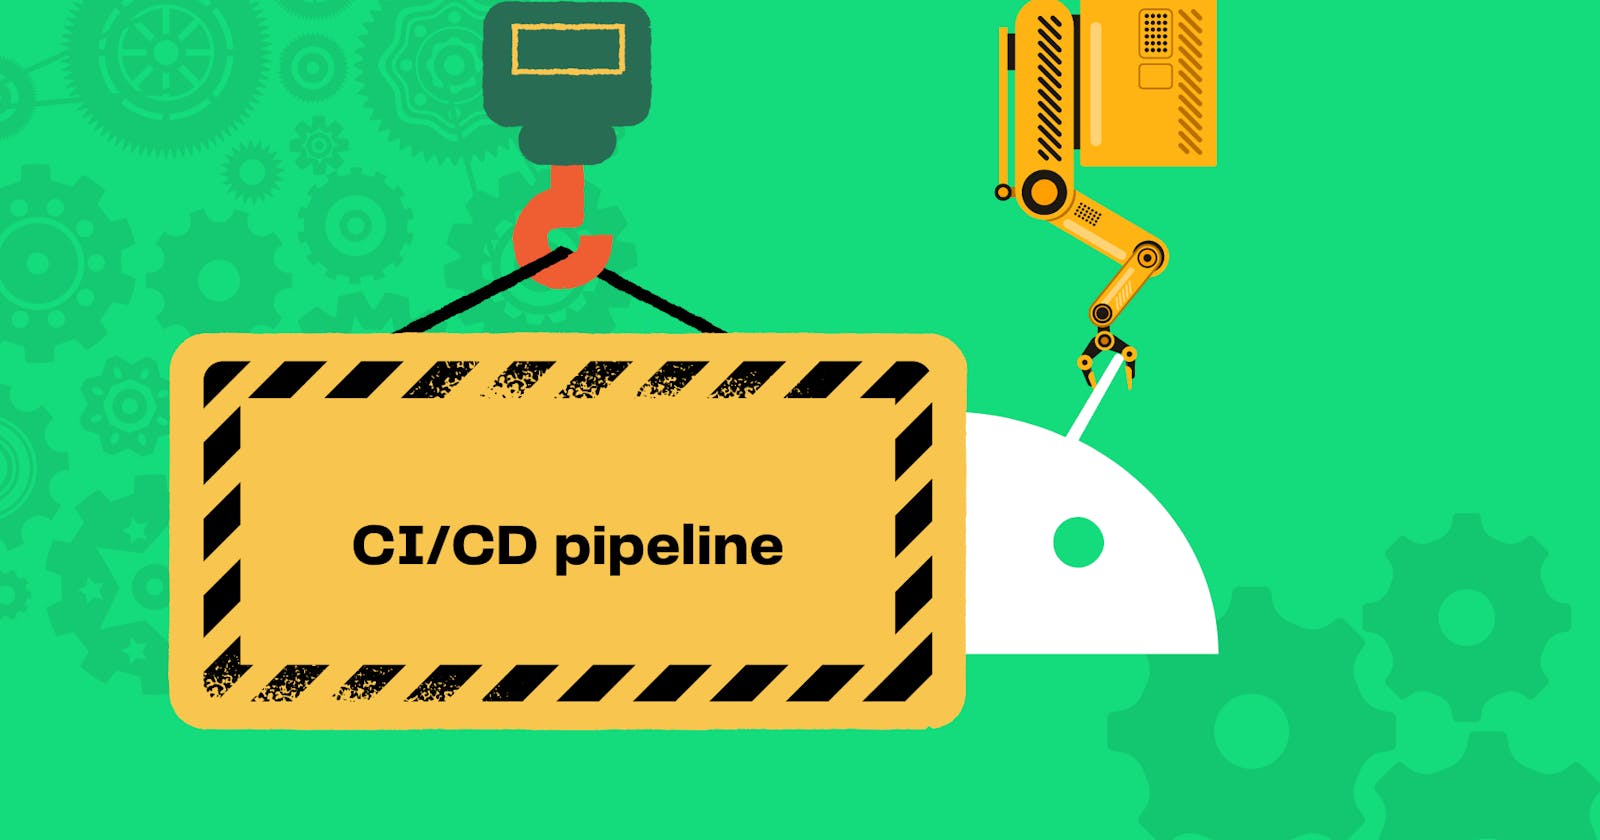
CI/CD pipeline
Fastlane
Jenkins
Let's understand the steps better:
CI/CD pipeline helps deliver newer versions of software efficiently and improves code quality.
Fastlane on the other hand is an open-source software which helps specifically with Android and iOS Deployment. It helps in the overall automation of your workflow.
Jenkins is another open-source free server distribution software which again helps in automating CI/CD.
Features you get through fastlane
Automate Screenshots for the app store
Beta deployment
App store deployment
Automatic code signing for the release
Go to the fastlane guide to understand how to use it on project clearly.
So, comming to the end of this article we learned about a step-by-step guide to setting up a CI/CD pipeline for an Android app release. It also explains the benefits of CI/CD, what to include in scripts, and how to use open-source software such as Fastlane and Jenkins to automate the Android release on Google Playstore.
Hope to see you using these automation tools on your next project 🚀